Plesk Single Server Post-install Configuration
Logging In To Plesk for the First Time
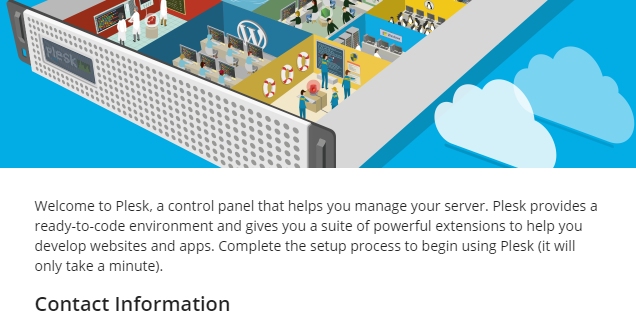
Once Plesk is installed, you need to do a little bit of setting up on the Plesk Welcome Screen before you can get to work (see the screenshot below). The following instruction describes the process.
To log in to Plesk for the first time:
Note: If you are already on the Plesk Welcome Screen, skip the first two steps and go to step 3.
-
Open the following URL in your browser:
https://<SERVER_HOSTNAME_OR_IP_ADDRESS> -
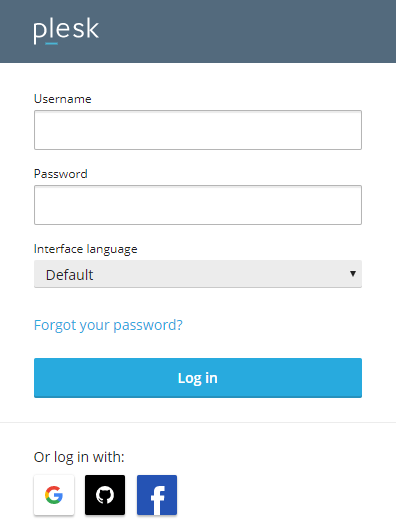
You are on the Plesk login page. When logging in for the first time, provide the system’s power user name and password:
- (On Linux)
rootand your server root password - (On Windows)
Administratorand your server administrator password

- (On Linux)
-
Provide your Plesk administrator email and password in the corresponding fields. Next time you log in to Plesk, use this password and the
adminusername.Note: You can also use your Google, GitHub, or Facebook account to log in to Plesk next time. To do so, provide your account’s email address. Then next time you will be logged in to Plesk right away with the linked account. You can also link an account at any time later in Plesk My Profile.
-
(Optional) If you are setting up Plesk for a third-party administrator and want them to change the admin’s password on the next login, select the “Change admin’s password on the next login” checkbox. For example, you can do it for security purposes.
Note: To remove this checkbox from the Plesk Welcome Screen, add the following lines to the panel.ini file:
[setup] forceAdminPasswordReset.enabled = false
-
Choose your license:
- If you have already purchased a Plesk license, paste the activation code you received in the “Proceed with a paid license” field. If not, you can buy a license in Plesk Online Store. You will then receive an email with your activation code.
- Before purchasing a paid license, you can evaluate Plesk for 14 days trying out Plesk Obsidian Web Pro edition. To do so, choose the “Proceed with a full-featured trial license” option.
-
Read and confirm the End-User License Agreement by selecting the corresponding checkbox and then click Enter Plesk.
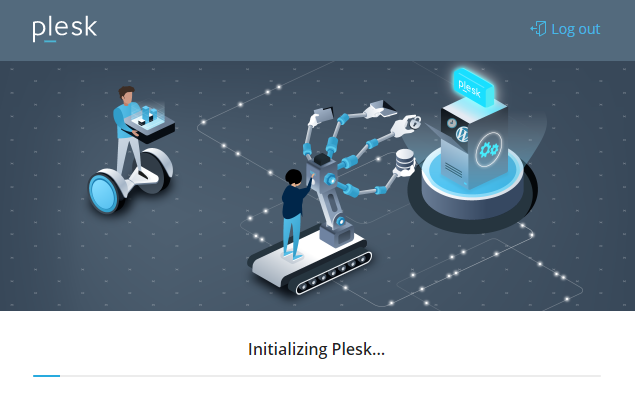
Once brief initializing is finished, Plesk will be completely ready to work.
You can start with creating your first website.
If you are a hosting provider and you want to create a customer first, switch to Service Provider view.
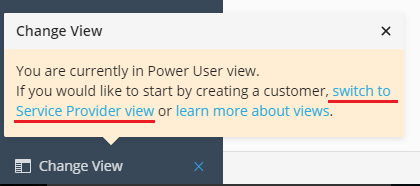
You can read a brief overview of Plesk views below.
Choosing the Interface Type
To better suit the needs of different users, Plesk offers two different user interface types, called views:
- Power User view is best for someone who uses Plesk for personal needs, for example, managing a mail server or running a personal website.
- Service Provider view is designed to suit the needs of traditional hosting providers who expect to serve a large number of customers. Service Provider view is available in Web Pro and Web Host editions.
Note: You can change the view in Plesk at any time.
Here you can read the detailed description of the Plesk views.
Hiding Plesk Controls and Tools
If you set up Plesk for other people to use, you can make certain controls and tools unavailable to them by enabling Restricted Mode.
SSL/TLS Certificates Securing Plesk
By default, Plesk is automatically secured with an SSL/TLS certificate from Let’s Encrypt. The certificate secures the transferred data each time you and your customers (if any) access Plesk.
In certain cases, a new Plesk server does not have a resolvable hostname. In this case, Let’s Encrypt cannot issue a certificate, which could leave the Plesk server unprotected. Additionally, each time anyone visits Plesk, they would see a warning about an untrusted connection.
To prevent this from happening, Plesk generates a temporary server hostname if the actual server hostname is non-resolvable.
The temporary server hostname is based on the server IP address and has a randomly generated prefix, which enhances security,
for example, purple-bear.192-0-2-1.plesk.page, where:
-
purple-bearis a random prefix. -
192.0.2.1is the server IP address.
Using the temporary server hostname, Let’s Encrypt issues a certificate that secures Plesk.
To ensure that the temporary server hostname does not get in the way of your configuration, the hostname is generated only if both of these conditions are met:
- The actual server hostname is not resolvable during Plesk installation.
- You did not provide the server hostname during the initial configuration of the Plesk server (via the CLI using the
init_confutility).
Note: If you provided a server hostname after a temporary one had been already generated and after having worked in Plesk for some time, Plesk will not reissue the Let’s Encrypt certificate securing the server. You need to issue a certificate for the new hostname manually.