Installing Plesk on Oracle Cloud
Provided Product Configurations
See Plesk configurations available on Oracle Cloud.
Installing Plesk on Oracle Cloud
-
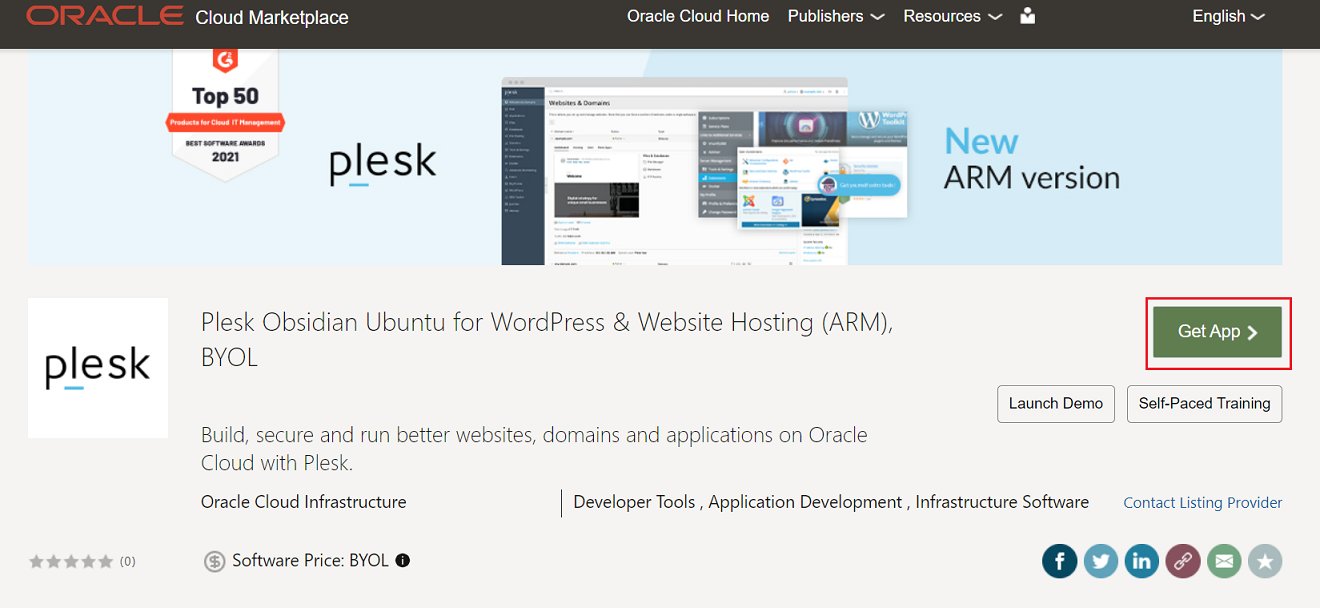
In the search bar, type “plesk” and then click the Plesk image in the search results.

-
Click the Get App button.
-
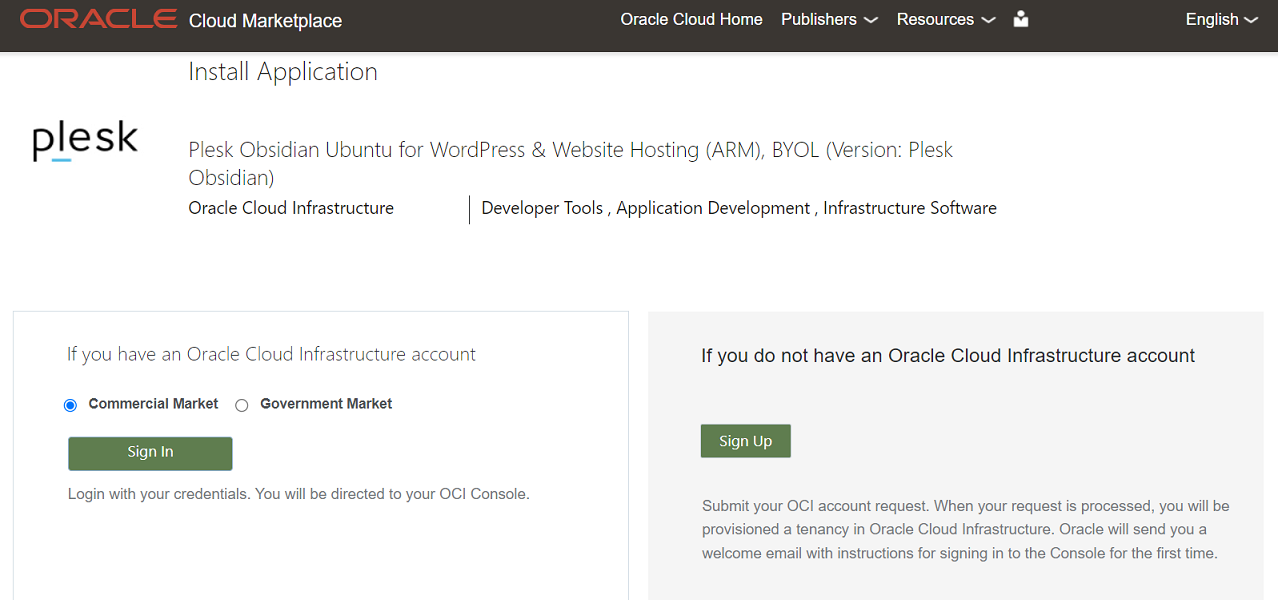
Sign in to your Oracle Cloud Infrastructure account (or create new one) if you have not done it yet.
-
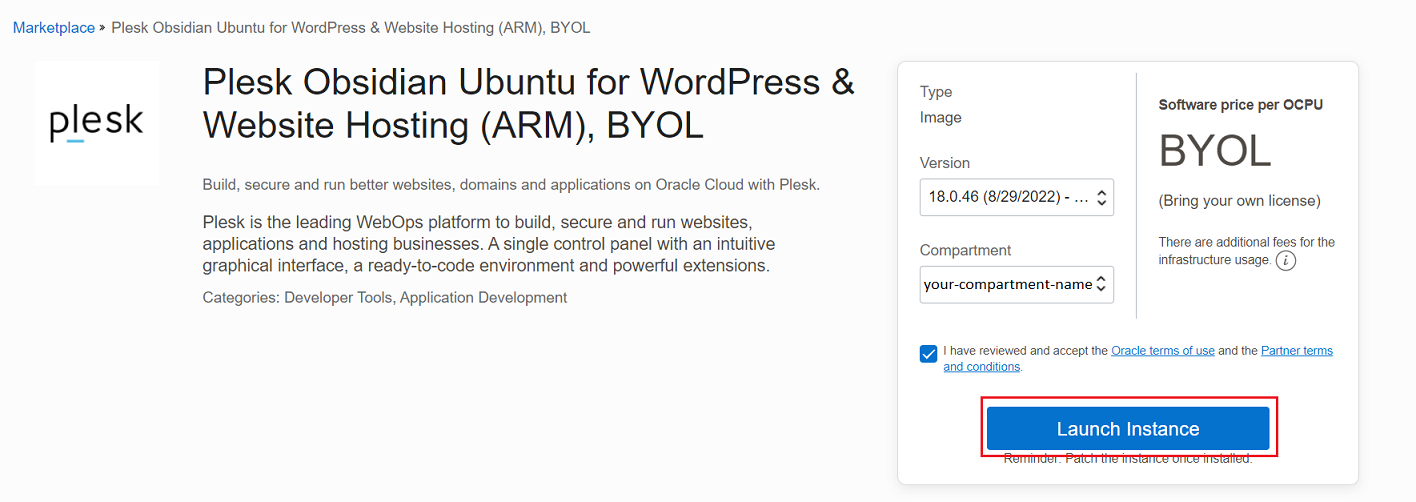
Select a compartment, select “I have reviewed and accept the Oracle terms of use and the Partner terms and conditions”, and then click Launch Instance.
-
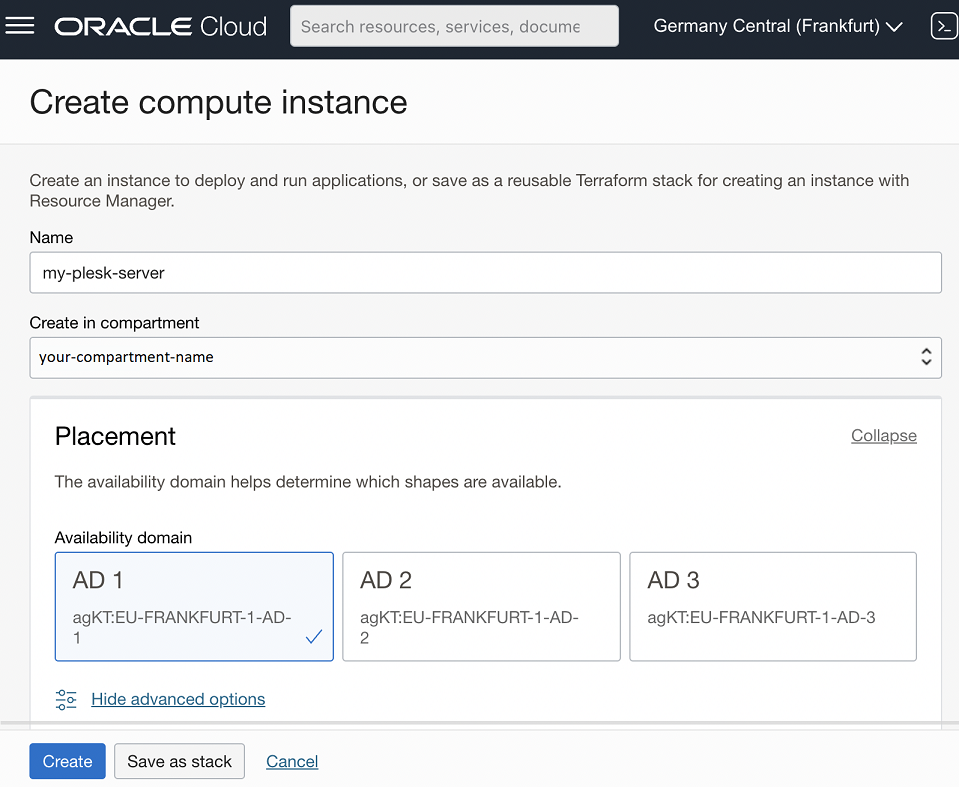
Give your instance a recognizable name.
-
Oracle Cloud automatically selects the data center (Oracle Cloud calls it “availability domain”) in your region. To choose another availability domain, click “Edit” in the “Placement” section.
-
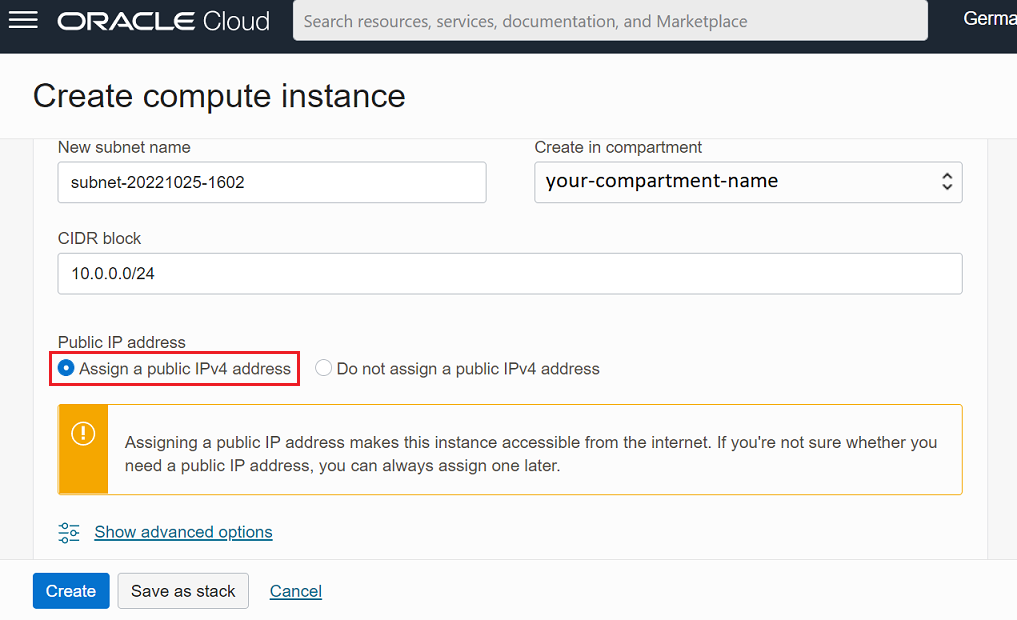
To use the instance as a public server, you need to assign a public IP address to it. This will make the instance accessible from the Internet.
To do so, click “Edit” in the “Networking” section and select “Assign a public IPv4 address”. You can always assign a public IP address later.
-
To log in to your server, you need to use SSH keys and an SSH client (for example, PuTTY, iTerm2, or Terminal):
-
To generate a new key pair, keep “Generate a key pair for me” selected and then click Save private key. You will find the saved private key in the “Downloads” directory.
-
To use an already existing key pair, select “Upload public key files (.pub)” and upload the public key file or select “Paste public keys” and paste the public key.
-
-
Click Create.
-
Wait a while until your Oracle Cloud instance is created.
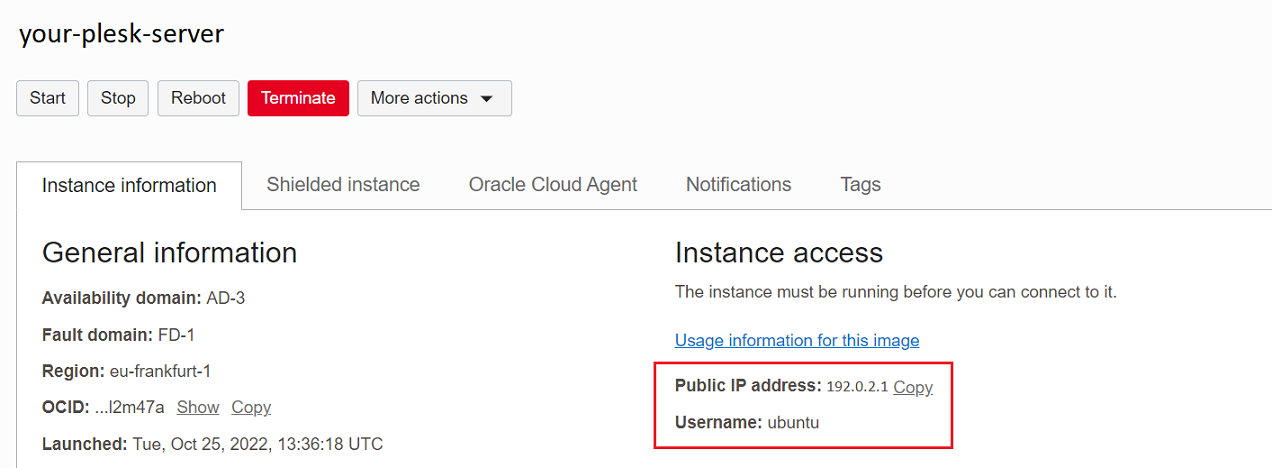
Once it is created, note the instance username (“ubuntu”) and copy the instance public IP address. You will need them both to access Plesk for the first time and to connect to the instance via SSH at any time.
Your instance is created, however, Plesk is not ready yet. By default, ports used by Plesk are closed. To operate Plesk and its services, you need to open the following ports by adding ingress rules to the instance.
-
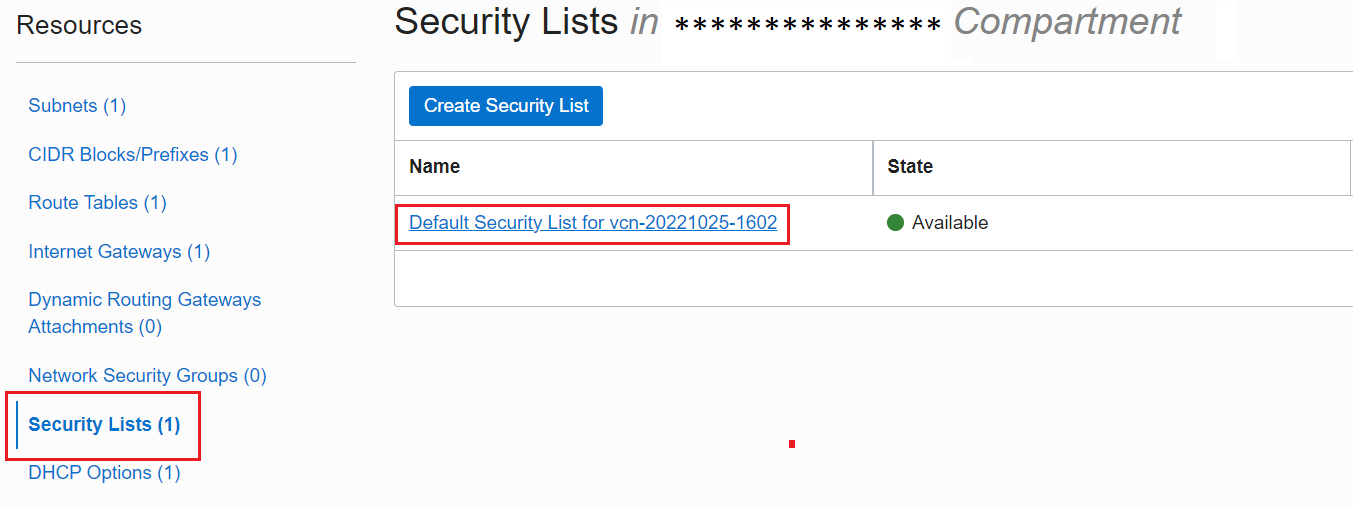
In the “Instance details” section on the “Instance information” tab, click the name of the virtual cloud network.
-
In the left menu, click “Security Lists” and then click on the default security list.
-
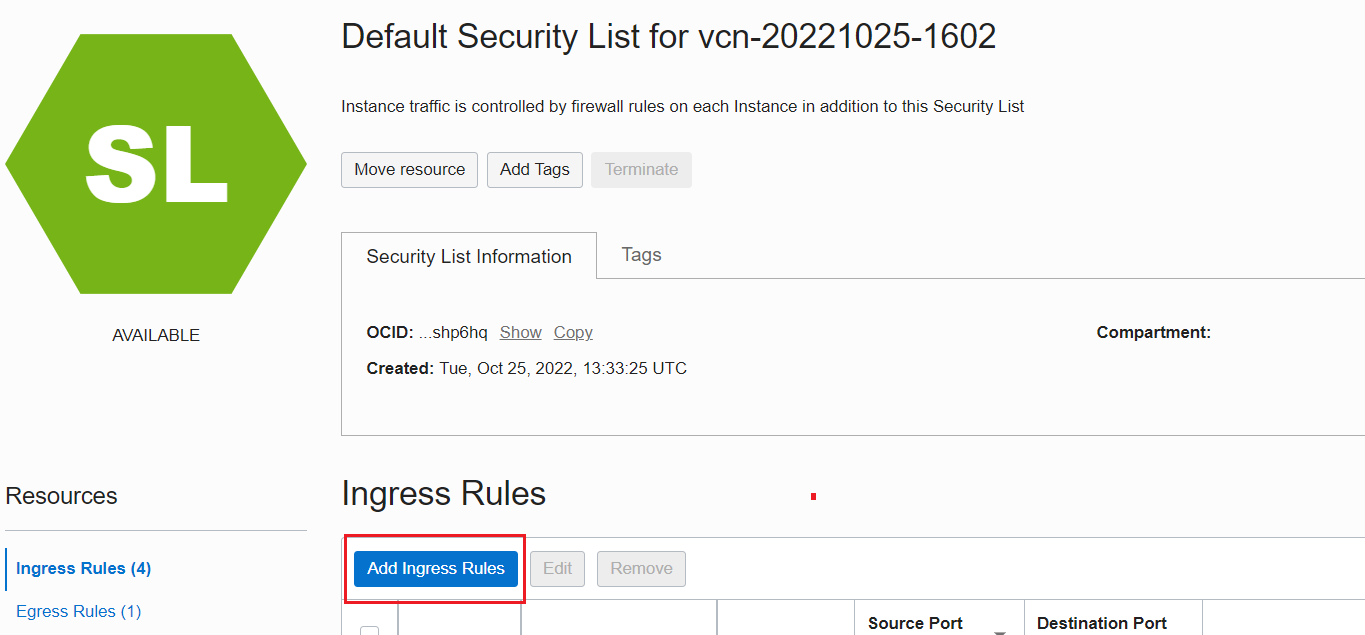
Click Add Ingress Rules.
-
There are two ways to open the necessary ports:
-
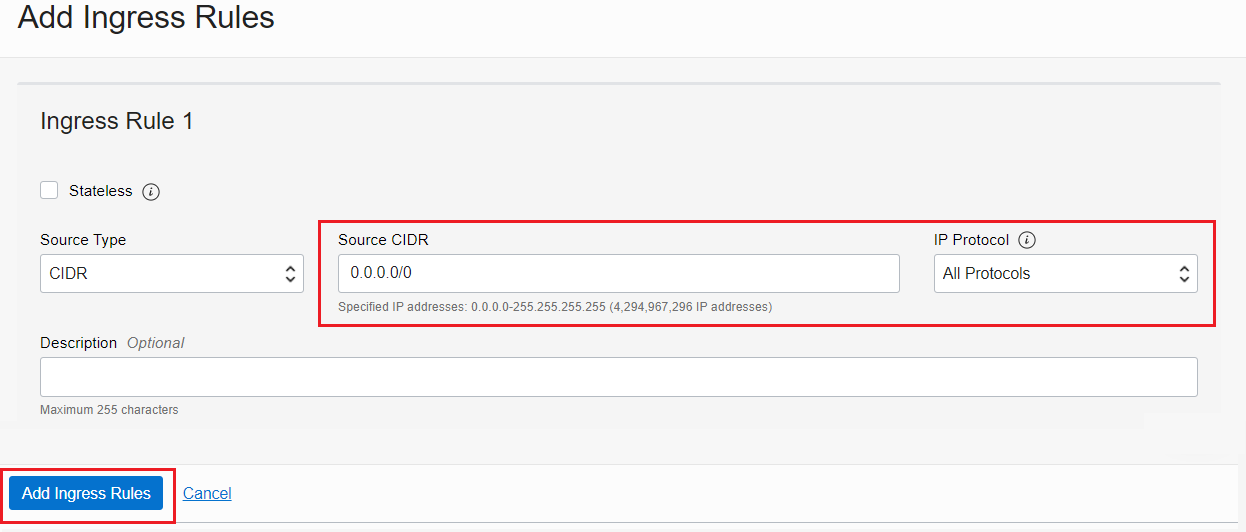
(Saves time but less secure) Add a single ingress rule allowing all incoming connections. To do so, fill in the following settings and then click Add Ingress Rules:
-
Under “Source CIDR”, enter
0.0.0.0/0. -
Under “IP Protocol”, select “All Protocols”.
Note: If you go with this option, we strongly recommend using the Plesk firewall to enhance security.
-
-
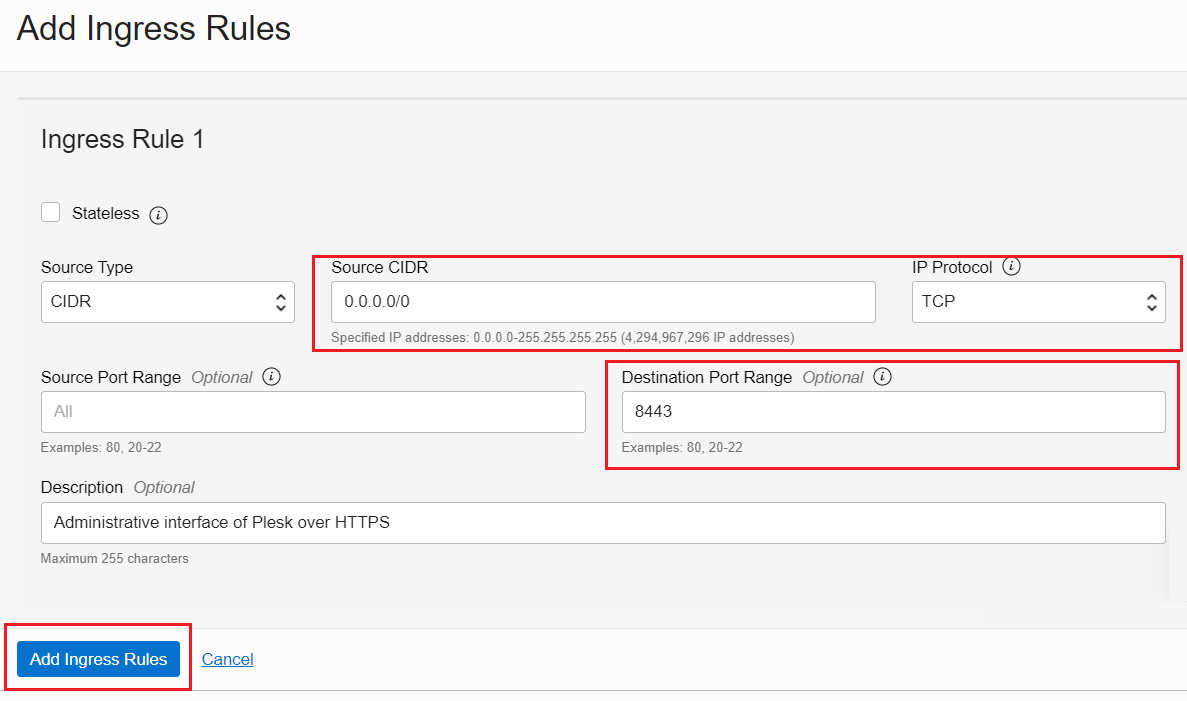
(Time-consuming but more secure) Add multiple ingress rules allowing incoming connections only to ports required by Plesk.
For example, to access the administrative interface of Plesk over HTTPS, you need to open port 8443. To do so, fill in the following settings and then click Add Ingress Rules:
- Under “Source CIDR”, enter
0.0.0.0/0. - Under “IP Protocol”, keep “TCP” selected.
- Under “Destination Port Range”, type
8443.
Repeat the previous step for each port used by Plesk and its services.
- Under “Source CIDR”, enter
-


Congratulations! You have opened all the necessary ports. Everything is ready for your first Plesk login.
Accessing Plesk for the First Time
To log in to Plesk on Oracle Cloud for the first time:
-
Access the instance command line via SSH. You can do so using your own SSH client, for example PuTTY on Windows or Terminal on Linux and macOS.
PuTTY is a free popular SSH client for Windows. However, PuTTY does not work with the standard
.pemformat of SSH keys. If you use PuTTY, you will need to convert the key downloaded from Oracle Cloud to the PuTTY-specific format.Watch the video tutorial
Unlike Windows, Linux and macOS have the command-line Terminal application available by default. If you use Terminal, you will need to set the specific permissions for the key downloaded from Oracle Cloud (
chmod 600 ~/Downloads/<your-ssh-key-name>.key) and connect to the instance using the command of the following pattern:ssh -i ~/Downloads/<your-ssh-key-name>.key <instance-username>@<public-IP-address>, for example:ssh -i ~/Downloads/ssh-key-2022-11-01.key ubuntu@192.0.2.1
-
Run the following command to generate one-time login links:
sudo plesk login
-
Plesk will generate two login links: one with the instance hostname and the other one with the instance IP address. Open the link with the hostname in your browser (for example,
https://modest-goodall.192-0-2-1.plesk.page/login?secret=7Jm0VSnKk4tsdrSI9tY7pZkSUW8NcY4mL9GXY4YMke3_Wew8). -
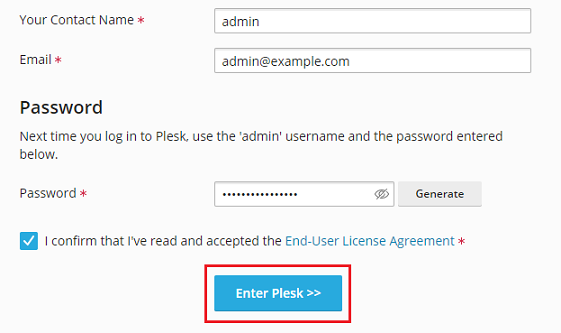
You will be redirected to the Plesk welcome screen. Provide your contact name and email address; read and accept the End-User License Agreement; set an administrator password.
Note: The next time you log in to Plesk use that password and the
adminusername. -
Click Enter Plesk to log in to Plesk.
Once a brief initializing is finished, Plesk will be ready to work. You can start with creating your first website.