Logging in to Plesk for the first time
summary: Once Plesk is installed, it is time to log in and start managing your websites.
In this topic, you will learn how to log in to Plesk for the first time.
After a successful installation using the Plesk autoinstaller, you will be provided with a one-time login URL that contains a session token, for example:
https://example.com/login?secret=JPMCEQTWGnxY3ttd_8Wa7bfDrT4KuHbe97R5TL2uIikH3WcY
or
https://192.0.2.1/login?secret=JPMCEQTWGnxY3ttd_8Wa7bfDrT4KuHbe97R5TL2uIikH3WcY
Follow this URL to automatically log in to Plesk. Select the desired interface language, change your password and log in to Plesk with the new password.
Logging in to Plesk
To log in to Plesk, open your web browser and open the following address:
https://<host-name-or-IP>:8443
For example:
https://example.com:8443
or
https://192.0.2.1:8443
The Plesk login page will open.
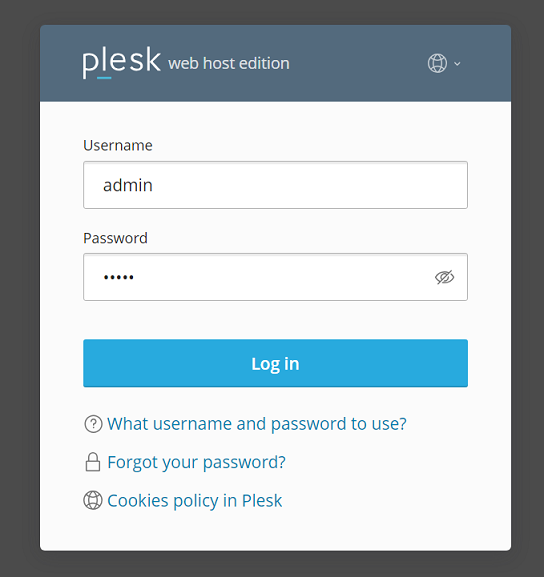
Type in your username and password to log in to Plesk. By default, your
username is admin, but this may have been changed if Plesk was
pre-installed by a third party. Alternatively, you can log in to Plesk
using the root username (on Linux), or the administrator
username (on Windows), and the corresponding password.
Note: As an additional protection against brute-force attacks,
you may want to change the admin username to the custom one.
Learn how to change the Plesk administrator username.
Note: You can disable logging in to Plesk with the root or
administrator credentials by adding the lines below to the
panel.ini file.
To disable logging in to Plesk with the root credentials:
[login]
systemAdmin = false